Shape
Integration: How to integrate 360° visuals on your website
HelloAR technology is designed to work on an intuitive and efficient do-it-yourself model. Sellers can easily create their own seamless, interactive product visuals with the help of HelloAR platform and apps while enjoying complete control over the product presentation.
It is super easy for you to integrate HelloAR 360 or 3D product visuals on your website. Your tech team will be able to quickly integrate the solution with few lines code.
There are 3 methods which you can use to implement HelloAR's 3D technology.
Embed the 3D/360° product on your website as an iframe
IFRAME Approach
You can use an iframe to embed the 3D viewer in your website.
For this approach, you can add the following embed code in your website’s product page:
https://viewer.helloar.io?id=emstrongHELLOAR_PRODUCT_ID/strong/em
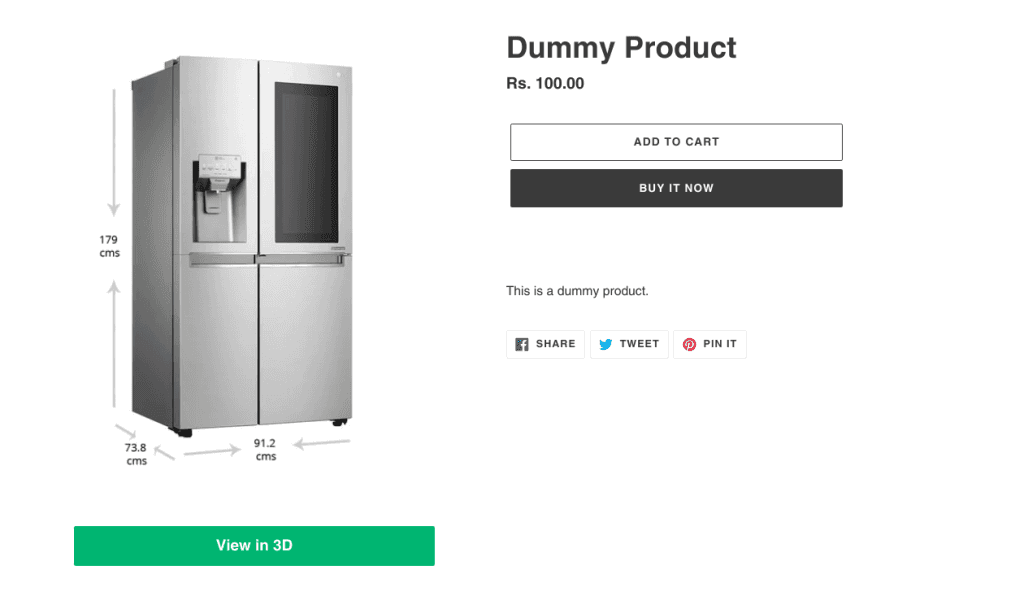
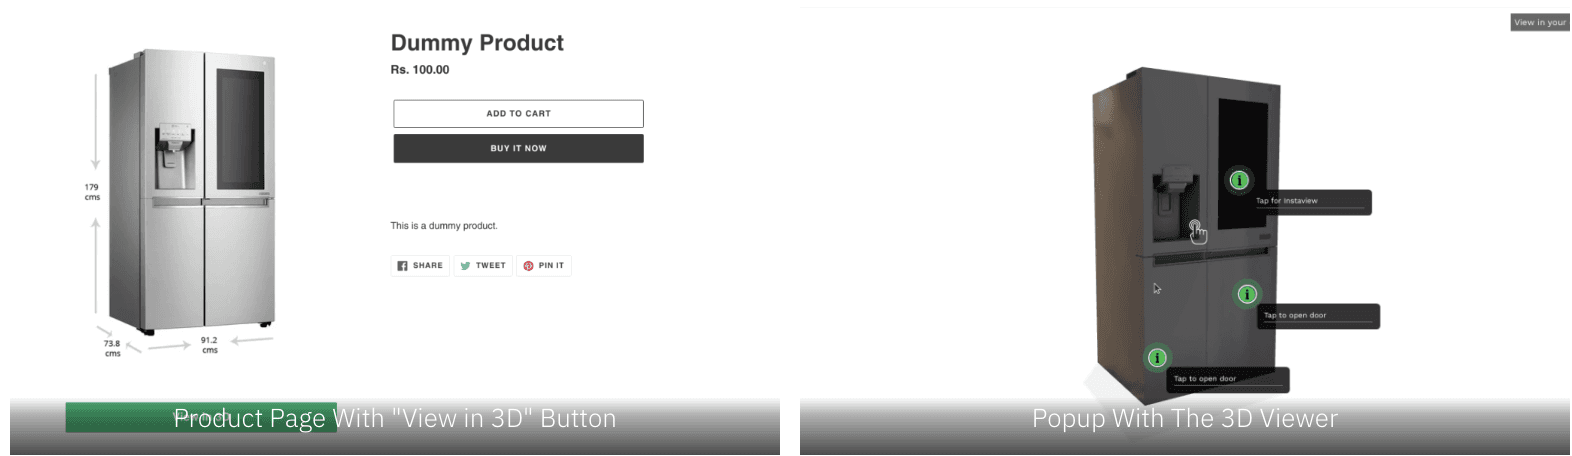
Button + Popup Approach
With this approach, this is how your product page would look like:
For this approach, you need to complete the following 3 steps
Step 1: Specify The Location Of The Button
Go to your desired location in your website's html code and the following div element
<div id="helloar-button"></div>
Step 2: Add HelloAR's script
To the same html page, add the following script tag:
https://content.helloviewer.io/js/helloar_embed_0.0.21.min.js
Import HelloAR
Note: Importing is required only if you use the helloar npm package.
Import is not required if you’re using the cdn link
Import HelloAR wherever you want to display the 3D viewer:
Note: HelloAR SDK requires the window object to function properly. So the imports need to happen on the client side.
If you’re using Server Side Rendering (like Next.js), you should do a dynamic import after the DOM has loaded
Dynamic Import:
Add An HTML <div>
The next step is to create a div in which the HelloAR 3D Viewer will get displayed.
Note: Adding a unique id is necessary.
You can add styling to this div as per your liking.
Required css styles that need to be added to this div:
HelloAR’s 3D Viewer will inherit the styling of this div.
Initialize The 3D Viewer
Use the following javascript code to initialize the 3D viewer.
Please request the API key from HelloAR.
This code can be run after an event (such as a button click)
Voila! That’s it. The div we created in the previous step will now show your 3D product.
Start your free trial now – Download our app or Signup here. Cancel anytime. No credit card needed. No lock-in.
For any assistance regarding this procedure, please reach out to us on support@helloar.io